Two open-source solutions for framing images
What is the topic of this article?
In this article, I describe two simple methods for decorating both single and multiple images with an outline frame, using two open-source resources in the GNU/Linux operating environment.
The first solution uses a graphics application. The second, on the other hand, is command-line.
Adding a frame to images is very useful in excerpts of documents published on sites and blogs.
In these cases, in fact, adding a border serves to “detach” documents published as images from the base document in which they are published.
The following are some of my articles with documents published as images and decorated with borders:
- Notes on resolving differences between two documents with the built-in resources of Vim and Emacs
- About LaTeX, standalone, PDF and PNG
- A study on exporting and importing music scores between LilyPond and MuseScore via MusicXML
The “digiKam” application: from single to serial decoration.
DigiKam is a cross-platform application, available, as far as I have been able to try directly, on every GNU/Linux distribution as well as for Windows and macOS.
Although it is open source software, it has professional-grade, digital image management capabilities, even in RAW format.
In writing this article, I used version 8.1.0. in Fedora Linux.
The application has an extensive set of editing tools for single or multiple images.
The home page of digiKam features a menu line on top and a series of buttons immediately below.
The images that follow in this paragraph, were decorated just with digiKam.
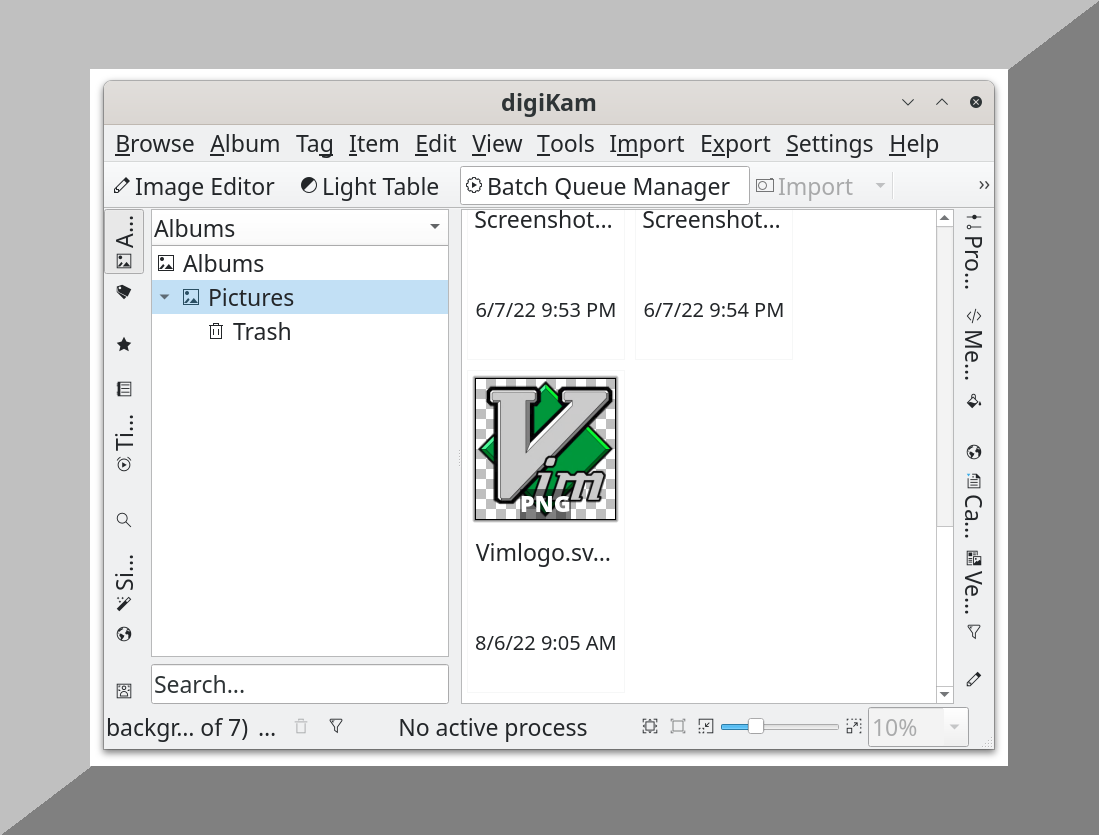
Single addition requires selecting an image and opening it with the Image Editor button, i.e., the first one on the left, as visible on the image above.
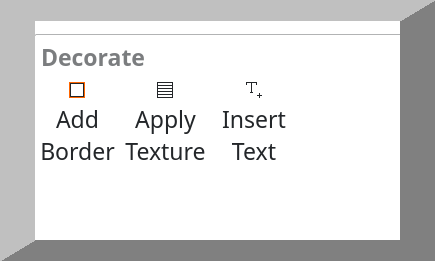
On the right side of the editor window is a series of vertical menus: Properties, Metadata, Colors, Captions, Versions, Tools.
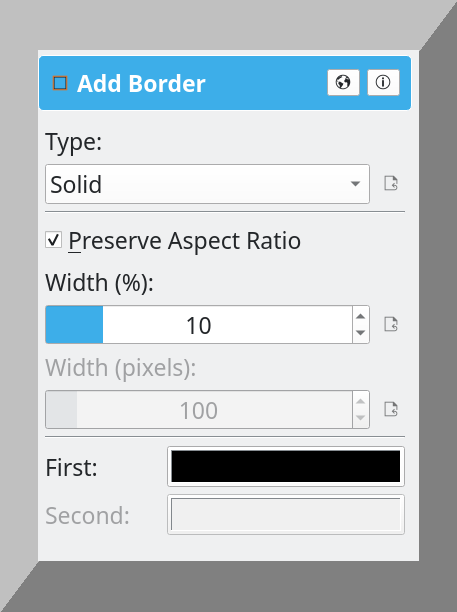
Adding a border requires pressing the last button: Tools and choose the Decorate tab followed by Add Border:
The rest is very intuitive. You need to choose a type of border from the various options in the Type menu as well as choose colors and options:
The “single” image description is useful for setting up “serial” editing, which is activated by pressing the Series Processing Manager button on the main menu shown in the first image of this post.
Having reached this point, it is very easy to switch from single to serial processing: just use the Serial Processing Manager function found in the home menu, on the right-hand side with respect to the Image Editor item.
In this way the specific functions already present in single editing are made available for a series of images.
Here is the image corresponding to the function of decoration by adding the border already described above but now obtained in serial mode:
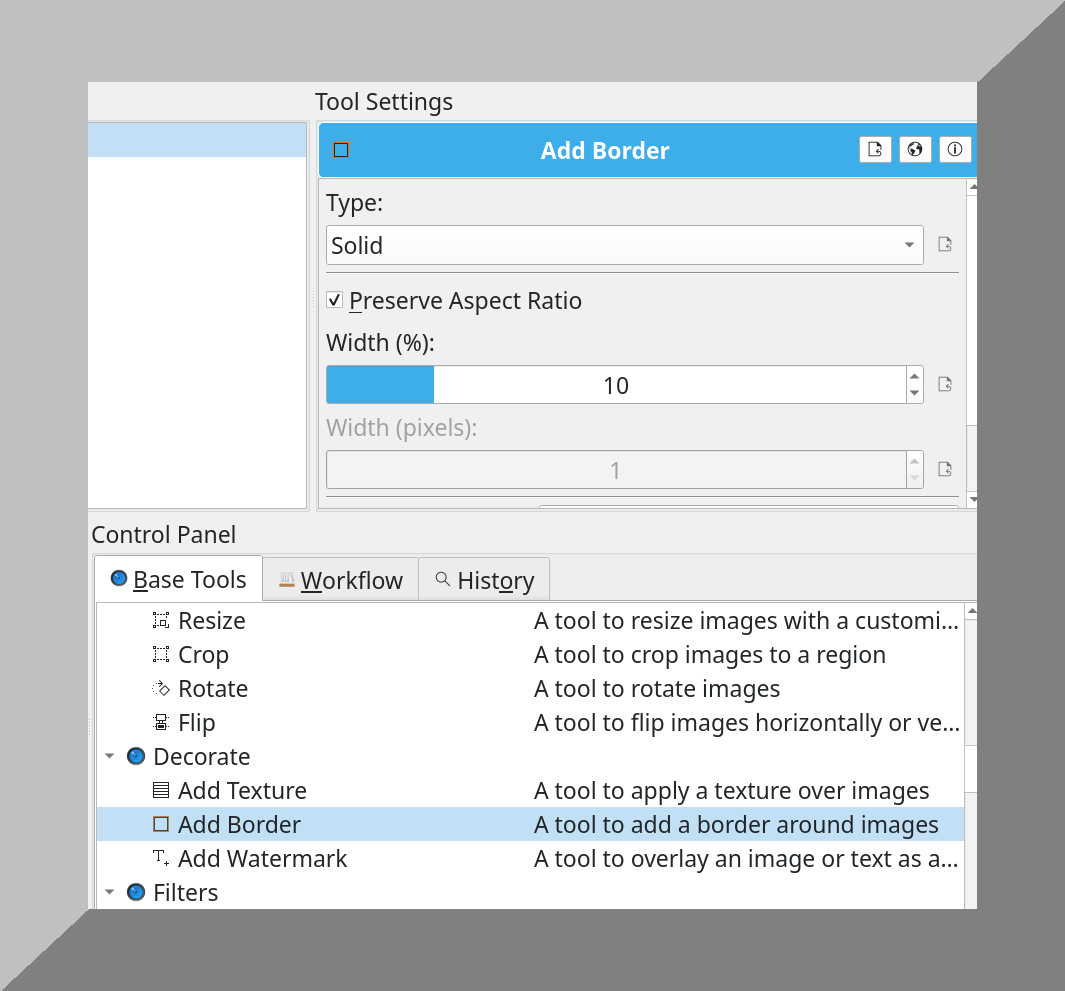
In this mode, all the options of the previous single mode are available.
Once the changes have been chosen, simply press the Start button in the upper left corner of DigiKam’s serial management window.
Decorating from the command line with ImageMagick.
The GNU/Linux command line allows you to perform various operations much faster than in graphical mode.
For image management, the most comprehensive command-line software, among those personally tried, is ImageMagick.
ImageMagick has a myriad of features but for the limited needs of this article we use the -frame operator as described in this paragraph.
Using this software is, structurally, very simple: just start the command line by typing magick (from version 7) or convert (up to version 6), followed by the specific operating instructions.
In this article I use commands from version 7.1.1-15 on Arch Linux.
The structure for adding a frame with ImageMagick is as follows:
- Activating the program with
magick. - Original document name.
- Option for choosing
-mattecolorfollowed by color, as shown in this list. - Option
-framefor creating the frame. - Size of the frame, e.g.
20x20+5+5.
Of course, you can change the -frame setting by increasing or decreasing the relative values.
This is an example of a complete formula:
magick original_image.png -mattecolor peru -frame 20x20+5+5 frame_image.png
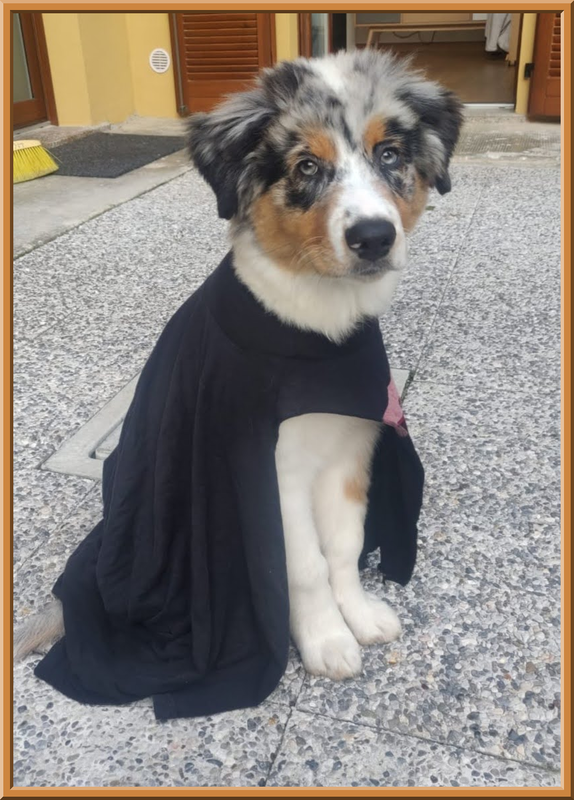
Here, below, is an unframed image followed by the same image with the frame generated by the above formula:

Other formulas that I have positively tried are those outlined below (this time using convert instead of magick):
convert -border 2x2 -bordercolor "#FF0000" old.jpg new.jpg
convert old.jpg -border 5x10% new.jpg
Taking into consideration the basic structure mentioned above, the scheme is very intuitive.
Batch framing with ImageMagick.
Once the working scheme of ImageMagick is understood, it is quite simple to extend the effect to a series of images rather than a single image.
For this purpose the mogrify command is used, as in the following diagram:
magick mogrify -mattecolor peru -frame 20x20+5+5 *.jpg
The above composite command modifies all the jpg format images in the folder.
To avoid losing the originals, it is necessary to create a subfolder with respect to the one in which the images are located and use the -path option with the addition of the name of the subfolder
For example: in this formula assume that the name of the subfolder is foo:
magick mogrify -path foo -mattecolor peru -frame 20x20+5+5 *.jpg
In this way the images in the source folder will remain intact and the modified ones will be placed directly in the indicated subfolder.
Thank you for your attention.