About LaTeX, standalone, PDF and PNG
LaTeX and the document format
As, of course, you all already know (:smiley:), LaTeX is a language dedicated to the typesetting of documents with state-of-the-art quality.
It is, therefore, unnecessary to note that the basics of LaTeX can be learned in about 30 minutes, as illustrated in this page.
For the purposes of this article, it is sufficient to recall that sources in LaTeX are composed of a preliminary part, also called the preamble, and the document with the contents.
The format of documents generated by LaTeX is defined at the beginning of the preamble with the command \documentclass.
The (probably) most widely used classes, such as article, report and book, produce documents in formats with predetermined sizes, specified by specific options, such as A4 (a4paper option), A5 (a5paper option) or letter (letterpaper option).
However, LaTeX can also generate images, and image sizes are, usually, different from document sizes.
LaTeX offers a \documentclass command class that determines a format that is not predetermined but, dependent on the size of the images.
This “variable dependent” size format is achieved with the standalone class.
In this paragraph, you find a complete code example for generating an image in LaTeX.
The generated format is, in any case, always a PDF.
However, to share the image in a blog or social network, you would need to convert the PDF to a real image format, such as PNG or JPG.
The following directions refer to exporting to PNG format but can be adapted to JGP format by modifying the relevant output format in the various steps.
Exporting documents from PDF to PNG.
The indications in this paragraph apply to any document with native PDF, even if not generated by LaTeX.
Exporting a full-page PDF to a corresponding image format might be useful if we needed to show complete documents, including white space around written text, as in this article of mine.
If, however, we wanted to limit the export to only the written portion of the document, then it would be necessary to crop the white spaces in the PDF document before exporting it as an image.
To have effective cropping, we also need to check that there are no other “scattered” details in the document, such as page numbering.
To crop the PDF document to the written part only, the command pdfcrop document.pdf is used.
The command generates a new PDF document with the original name and the addition “-crop.pdf’'.
In both cases, i.e. in the case of both the whole document and the cropped document, the result can be obtained by applying the following ImageMagick command:
magick -density 300 file.pdf file.png
In case you see artifacts in the image obtained from the conversion, you can try increasing the density from 300 to 600.
In this section you will find examples for each export version.
Exporting images from PDF to PNG.
The same guidelines as in the previous paragraph apply in the case of operations performed on PDF images.
I have, however, already anticipated in this paragraph that in LaTeX it is possible to obtain already cropped PDF images by means of the standalone class.
As an example, I reproduce code from this page corresponding to an image in LaTeX.
\documentclass[tikz]{standalone}
\begin{document}
\begin{tikzpicture}
\fill [white] (-1,-0.) rectangle (4.7, 5.7);
\fill [fill=red!90!black] (0,0) to [out=120, in=250] (-0.2,4.2) -- (-0.5,5) -- (-0.3,5.2) -- (1.8,4.5)
  -- (3.7,5.2) to [out=-70, in=70] (3.9,0) -- (3.2,0.5) to [out=200, in=-20] (0.6,0.5) -- cycle;
\draw [cyan!80, fill=white, line width=8pt] (0.75,3.65) circle [radius=1.3];
\draw [cyan!80, fill=white, line width=8pt] (3.25,3.7) circle [radius=1];

\fill [black] (1.05,3.5) circle [radius=0.45];
\fill [black] (2.9,3.65) circle [radius=0.3];

\fill [white] (1.25,3.5) circle [radius=0.15];
\fill [white] (3.05,3.6) circle [radius=0.12];

\fill [yellow!80!orange] (1.85,3.2) -- (2.35,3.2) -- (2.1,2.6) -- cycle;
\end{tikzpicture}
\end{document}
The effectiveness of the pdfcrop command, described in the previous paragraph, is, however, slightly greater than the PDF generation obtained through the standalone class of LaTeX.
In the following paragraph you will find, after the examples already mentioned in the previous paragraph, also those related to the export of images, first “cropped” with the standalone class and, then, with the pdfcrop command.
Examples
The following image is converted from a PDF generated by LaTeX with the “article” class:
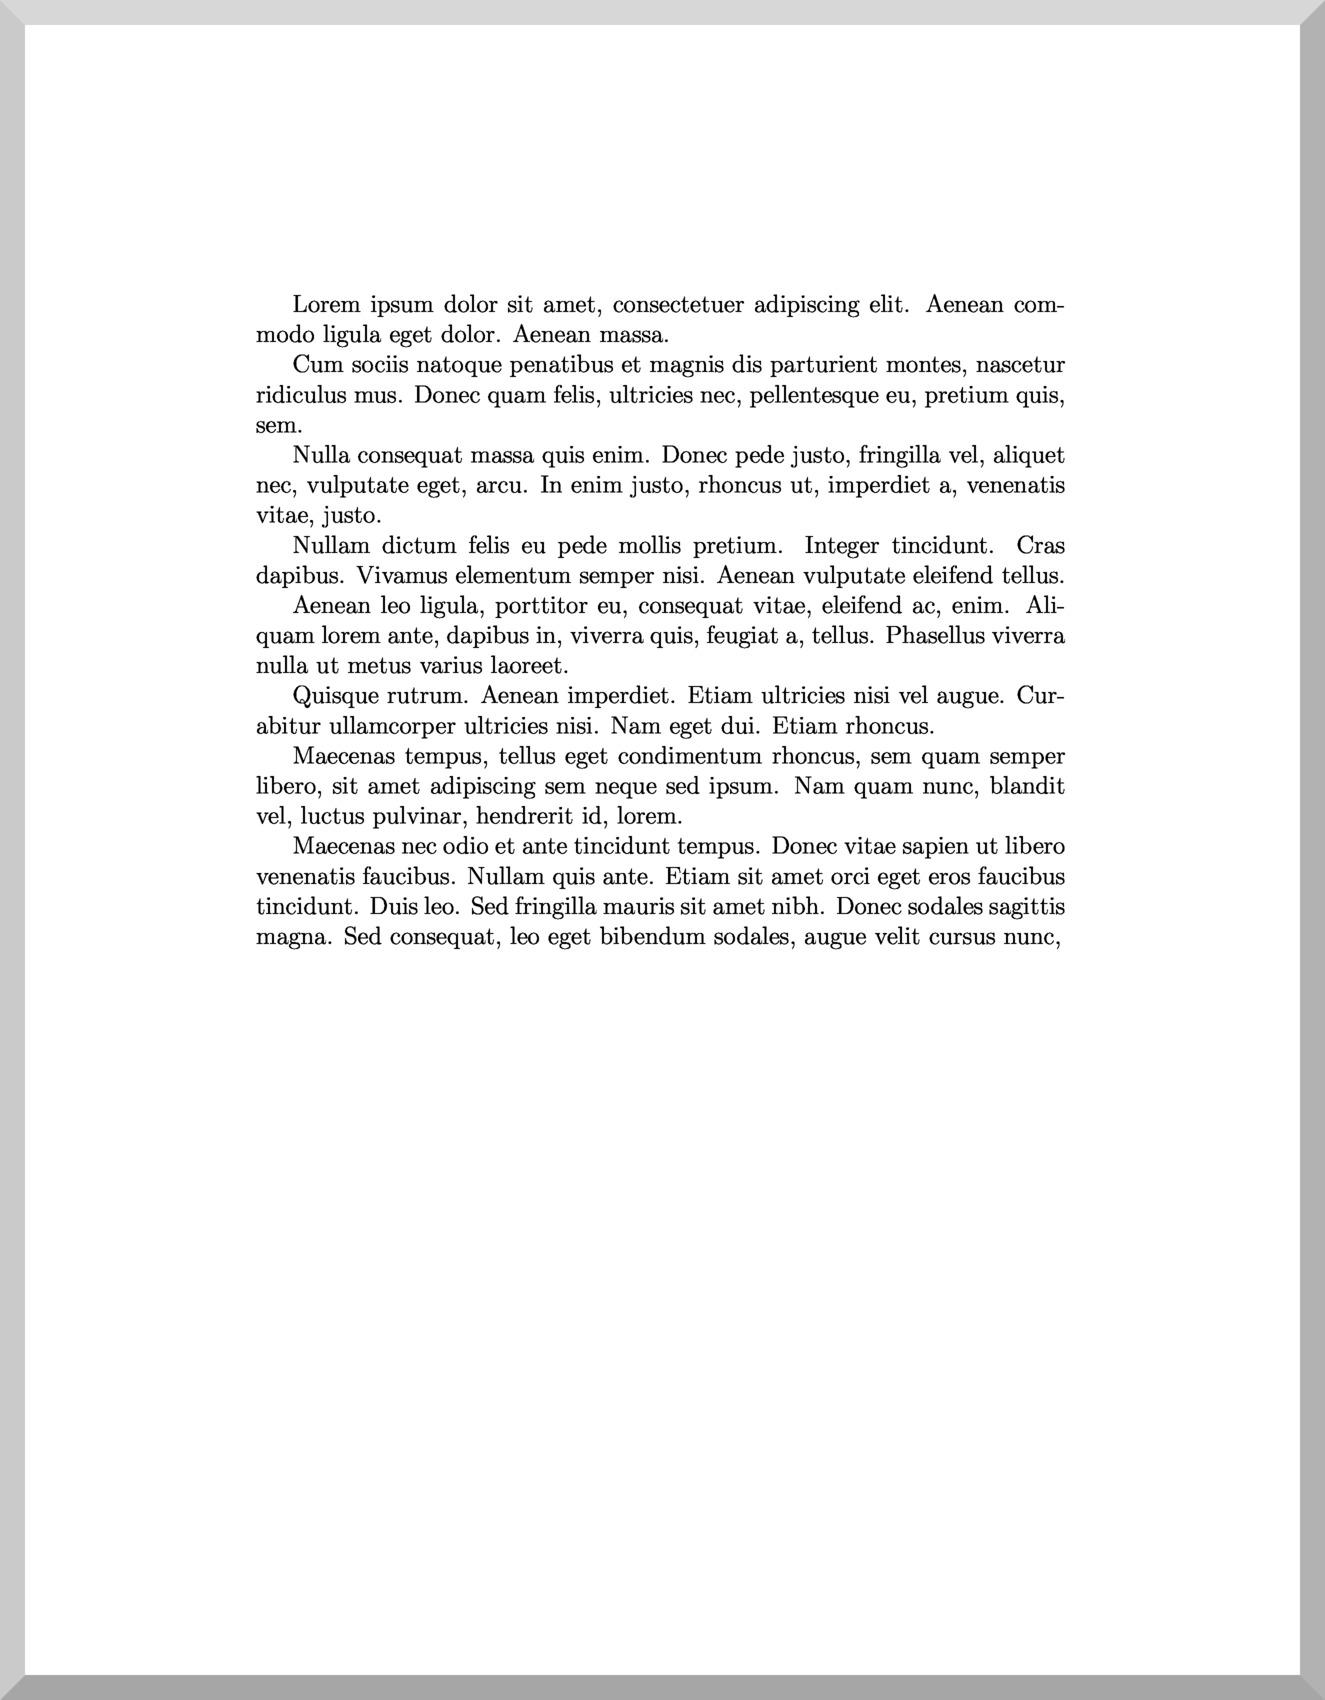
Note the noticeable white space around the text.
The following image is, on the other hand, converted from the same PDF with the spaces automatically cropped using the pdfcrop document.pdf command:
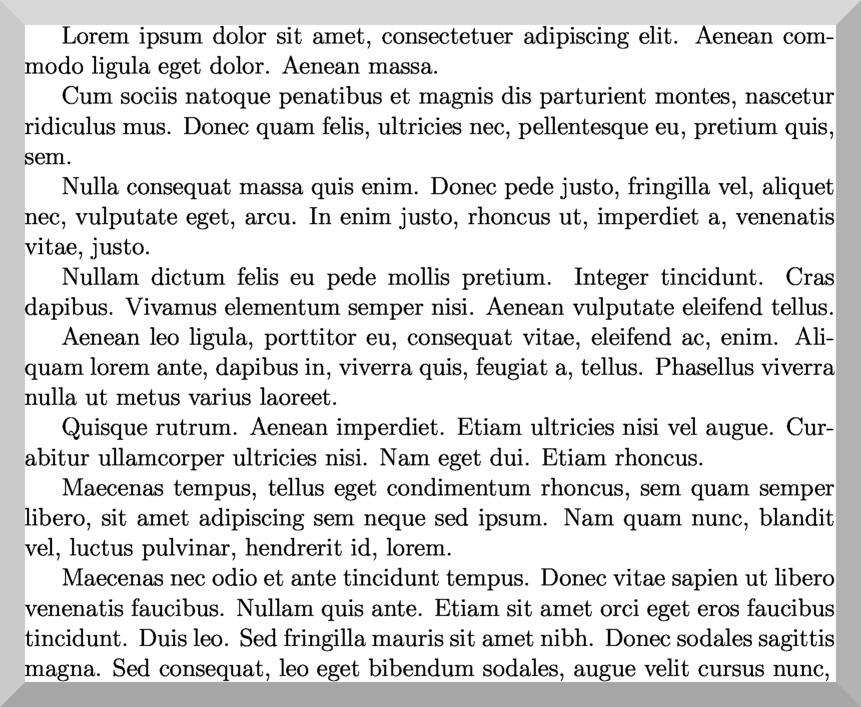
The pdfcrop command cropped the white margins, leaving only the part that was actually written.
The following image is, however, referring to the above image taken from the PDF generated in LaTeX with the “standalone” class:

In this case, the white stripe around the image is much reduced but not completely cropped.
The last image is, on the other hand, consequent to applying the pdfcrop command to the previous PDF:

Now, the image is close to the edge.
Thank you for your attention.